Application Management page
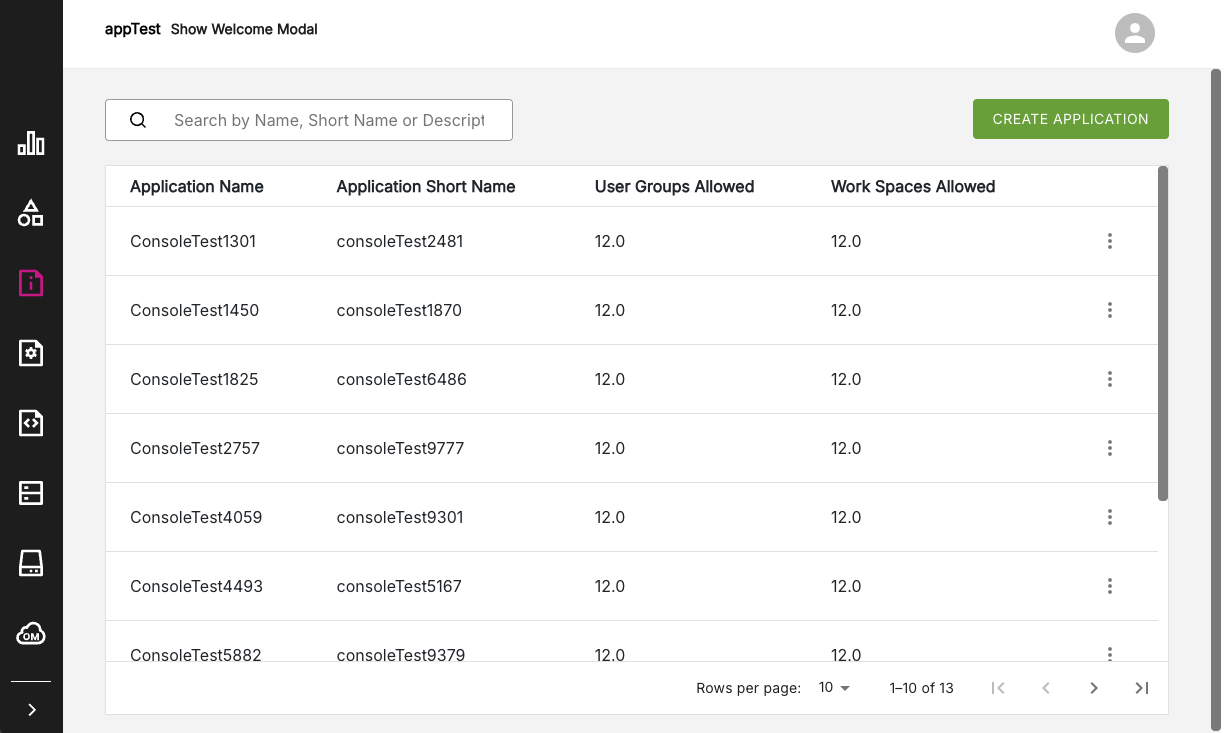
The Application Management page displays a range of basic information and settings for a particular application. You can use this page to create a new application listing, and view or edit application details such as Home Page settings and URL redirects.
Figure: Application Management page
Creating a new application#
If you are an Organization Owner or Platform Manager, then you can create a new application. No other platform roles can perform this operation. When an Organization Owner or Platform Manager opens the Application Management page, the Create Application button will be visible in the top right of the page.
To create a new application, do the following:
- Click the Create Application button.
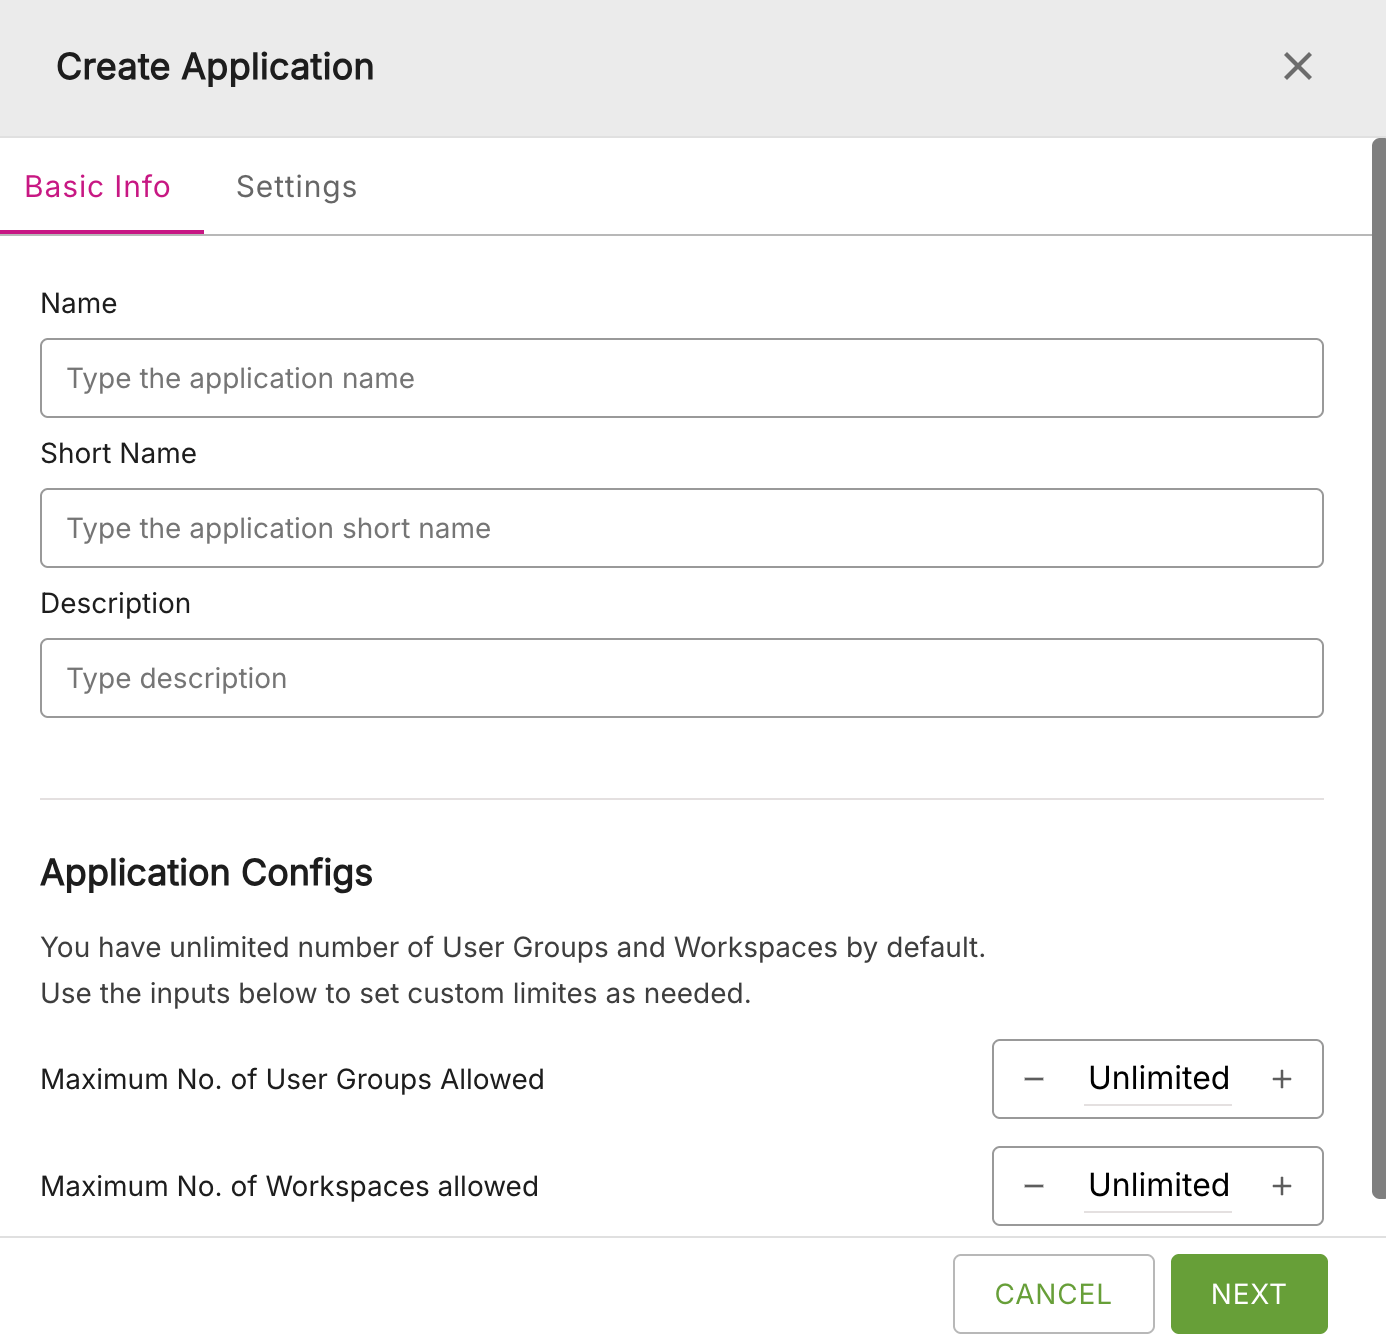
- The Create Application window will appear. Note that there are two tabs for listing application information: Basic Info and Settings. Enter the details for the Basic Info. Note that the Short Name provided must be unique across all applications.
- Click Next to continue to the tab for Settings. Here you can enter other information such as Redirect URLs and Authorized Origins.
- When finished, click Save. A message should be displayed indicating that the new application was successfully created.
Figure: Create application window
Viewing and editing an existing application#
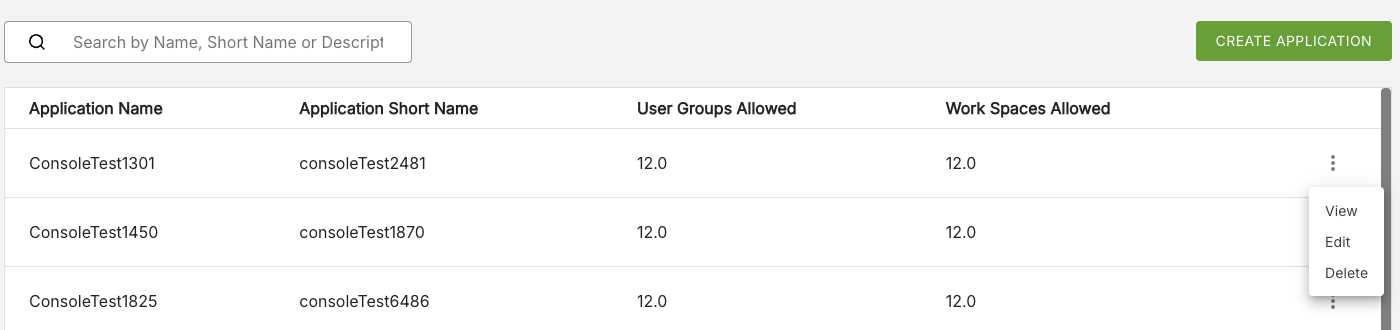
Depending on your Platform role, you can view and edit an application's details. This operations are accessible from the More Options menu which is available at the end of each row of an application listing. This menu is indicated by three dots to the right of the Work Spaces Allowed column.
The More Options menu has three options:
- View
- Edit
- Delete
Figure: View/Edit/Delete application options
Editing application details#
To edit an existing Organization details, do the following:
- On the Application Management page, locate the row listing for the particular application you want to edit.
- Open the More Options menu for the application. Click the Edit option.
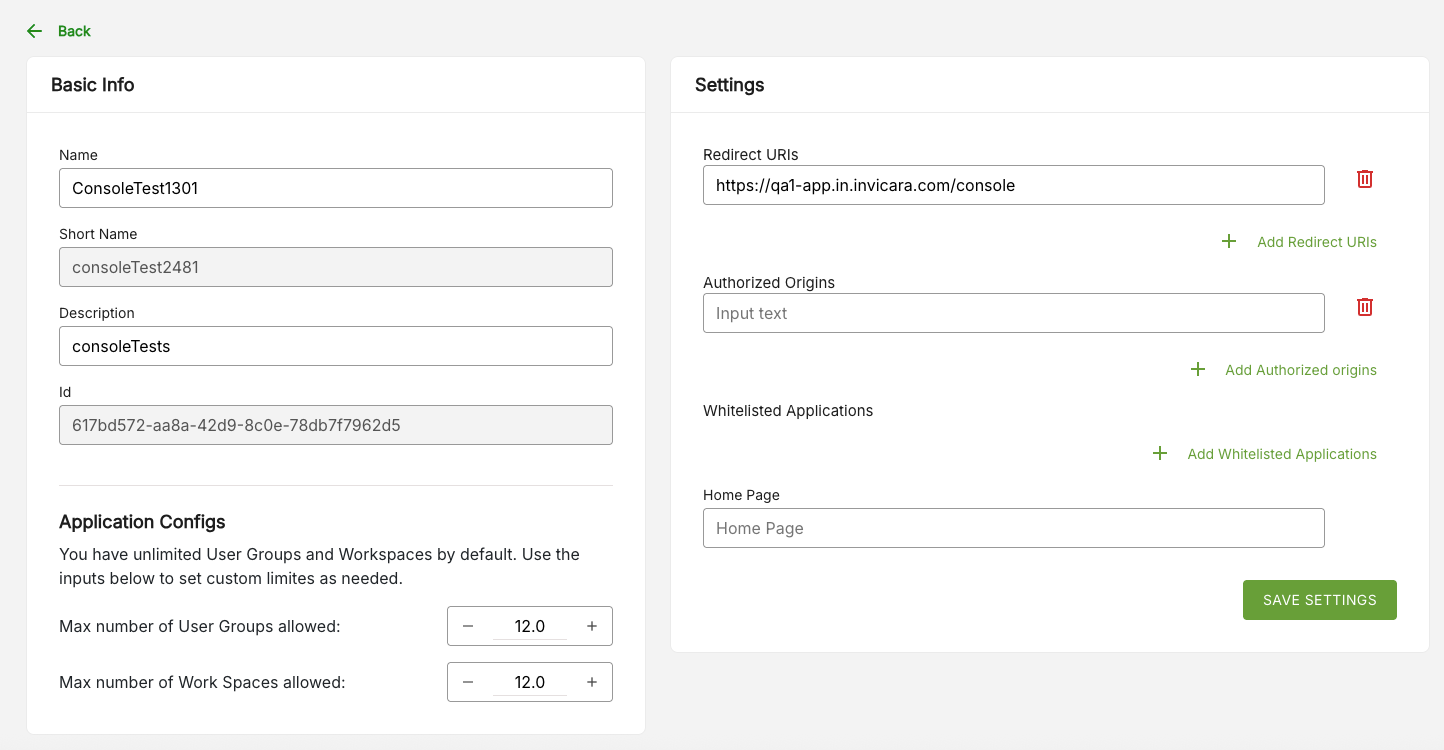
- The Edit Application window will appear. Update the fields as required.
- When finished, click Save Settings. A message should be displayed indicating that the application was successfully updated.
Figure: Edit application window
Notes on application information and settings#
When editing or creating an application, a range of information is displayed in two panels or tabs:
- Basic Info
- Settings
Basic info panel#
The Basic Info panel presents the following application details:
- Name
- Short Name
- Description
- ID
- Application Configs (where you can specify maximum number of User Groups allowed and Work Spaces allowed.)
Settings panel#
The Settings panel presents the following application details, which you can change:
- Redirect URLs (presented as a list which you can add to or delete from)
- Authorized origins
- Whitelisted applications
- Home Page
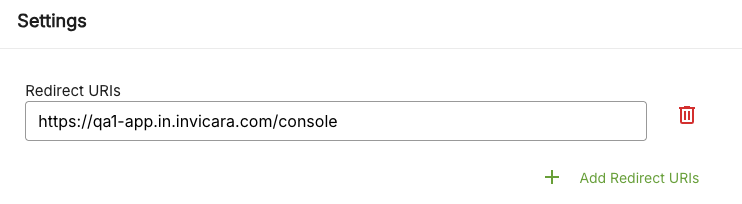
Changing Redirect URLs#
Create additional redirect URLs using the + Add Redirect URLs option.
Delete existing redirect URLs by clicking the thrash icon to the right of each URL listing.
Figure: Editing Redirect URLs
Changing Authorized Origins#
Add an authorized origin using the + Add Authorized origins option.
Delete existing Authorized Origins by clicking the thrash icon to the right of each URL listing.
Changing Whitelisted Applications#
Add whitelisted applications by adding an application ID, using the + Add Whitelisted Applications option.
Delete existing whitelisted applications by clicking the thrash icon to the right of the Whitelisted Applications box.