Telemetry node
Overview#
Use the Telemetry node to create and manage telemetry channels.
Extended edit options#
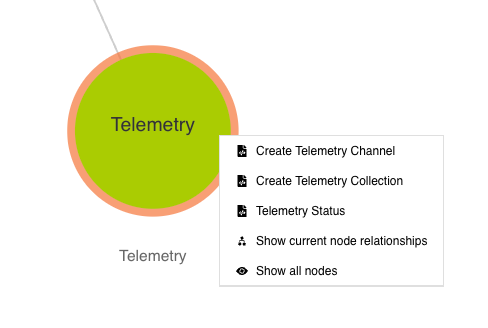
Right-click on the Telemetry node to access these extended edit options:
- Create Telemetry Channel
- Create Telemetry Collections
- Telemetry Status
- Show current node relationships
- Show all nodes
Figure: Telemetry node - extended edit options
Creating a new telemetry channel#
To use the Telemetry node to create a new telemetry channel, do the following:
- In edit mode, right-click the Telemetry node.
- Click the option Create Telemetry Channel.
- The first part of the Create Telemetry Channel dialog appears. This dialog consists of four steps. On Step 1: Configure ActiveMQ Channel, there are instructions on how to configure the ActiveMQ message broker which is used to convey telemetry information. When you have read the instructions, click Next to proceed to the next dialog.
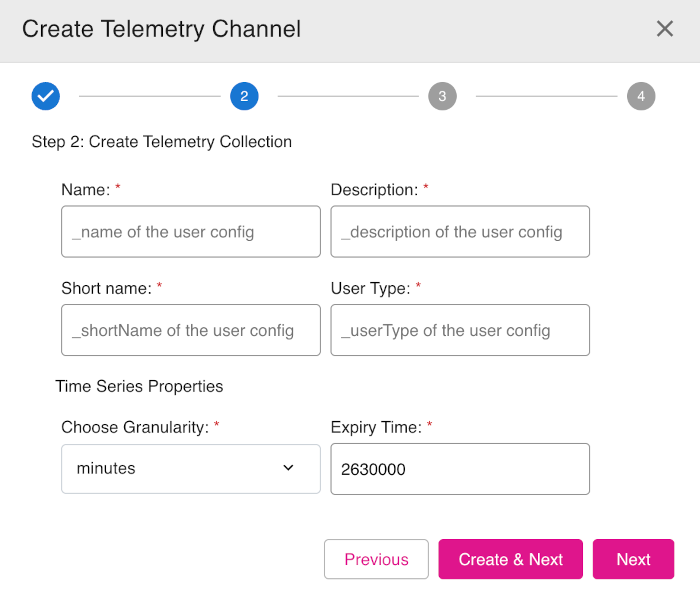
- In the Step 2: Create Telemetry Collection dialog, enter the required information into the mandatory fields: Name, Description, Short name, and User Type.
- In the Time Series Properties section, from the drop-down box Choose Granularity, select seconds, minutes, or hours (default is minutes).
- In the Expiry Time field, enter the default time-out period for the telemetry channel (default is set to 2630000, units depend on the granularity setting).
- Click either Create & Next or Next to proceed.
- On the Step 3: Create Telemetry Items dialog, you can define telemetry items to add to your telemetry collection.
- On the final section, Step 4:, confirm the information as required to complete the process.
Figure: Telemetry node - Create Telemetry Channel dialog - Step 2