Create a Twinit Project
A workspace or a project is a partition of data on the Twinit platform. The two terms, workspace and project, are synonymous.
We will create a project to contain all the scripts and data that you will use for your training.
- Select the Twinit view on the left hand side

- Expand the 'PROJECTS, SCRIPTS & CONFIGS' panel and click 'New Project'
- A form will open allowing you to enter information about the project
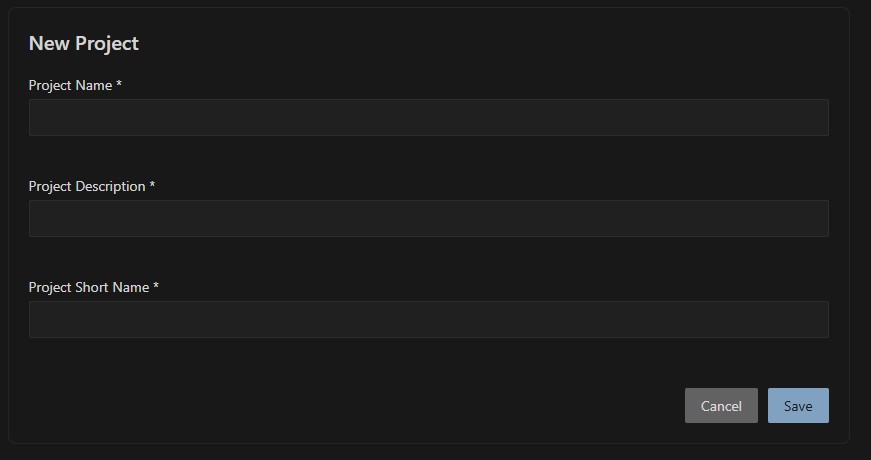
- Enter a name for the project (ex: '{{your name}} Training Project')
- Enter a description for the project (ex: 'A training project to learn to use TWINIT')
- Enter a short name for the project (10 characters or less, ex: '{{your initials}}_train')
- Click the Save button
The extension tree will refresh to show you the newly created project.
All further work in this course should be done in your newly created project.