Telemetry Config tab
Overview#
The Telemetry Config tab allows you to configure items in the Named Telemetry Collection item class.
Before you configure any telemetry items, the Telemetry Config tab will be empty and in the tab, you will see the alert symbol shown below alongside its name.
![]()
Configuring telemetry item#
To configure a telemetry item, do the following:
- In the Item Service console, click on the Telemetry Config tab.
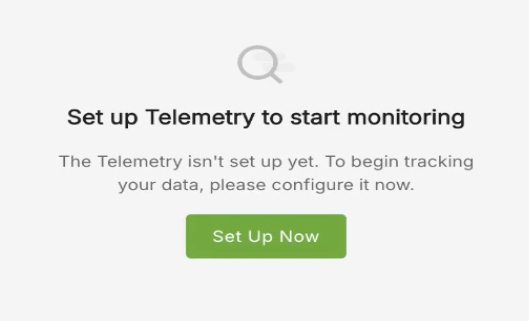
- If no telemetry item has been set up then you will see the message shown below. Click Set Up Now to begin the telemetry configuration.
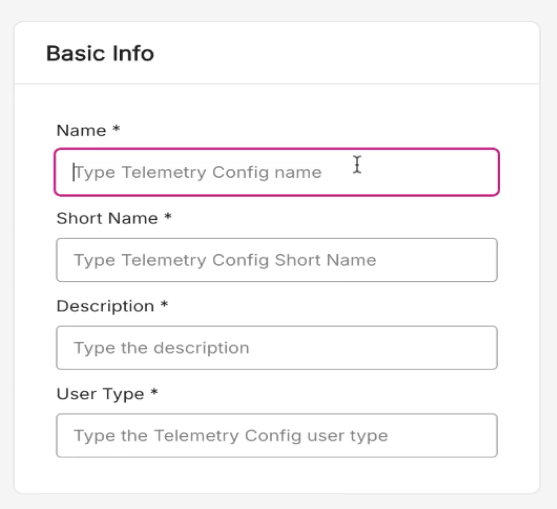
- You will now be presented with the Basic Info pane, where you can enter information about the telemetry config sich as Name, Short Name, Description, and User Type.
After entering all the Basic Info, in the Config Data pane, you need to set up a normalization script. (This is a script which changes data from one format to another). Click Choose Script.
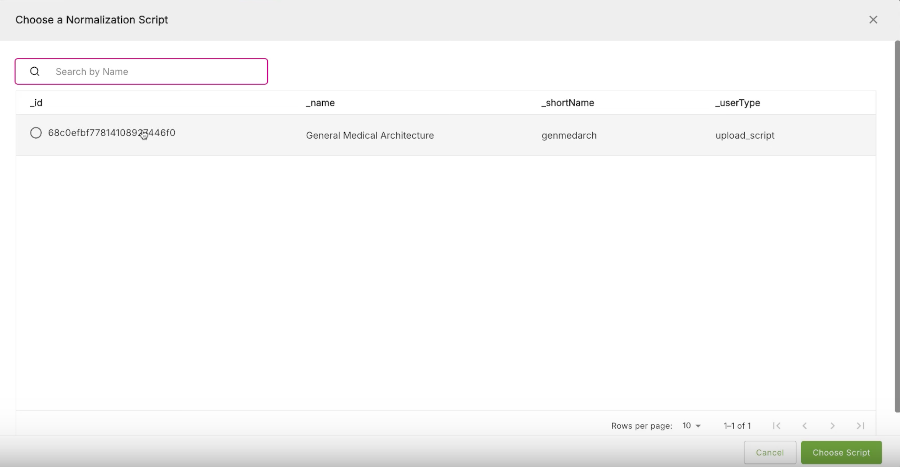
On the Choose a Normalization Script page, you can search for a script or select one of the scripts listed on screen. When done, click Choose Script in the bottom right of the page.
You will now be presented with the Script Editor page where you can made manual edits to the script if required. When done, click Next.
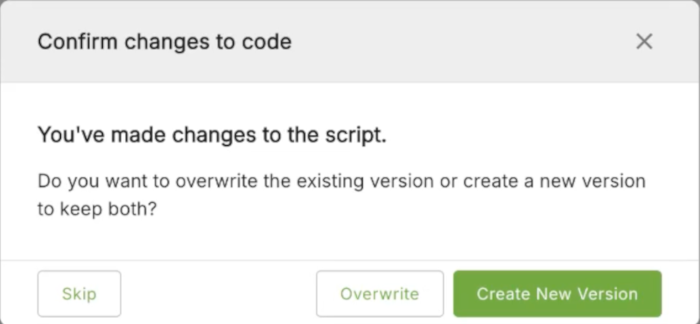
If you have made changes to the script you will see the Confirm changes to code pop-up. Here you will be asked to either Overwrite the script, Create New Version, or Skip. Choose as appropriate.
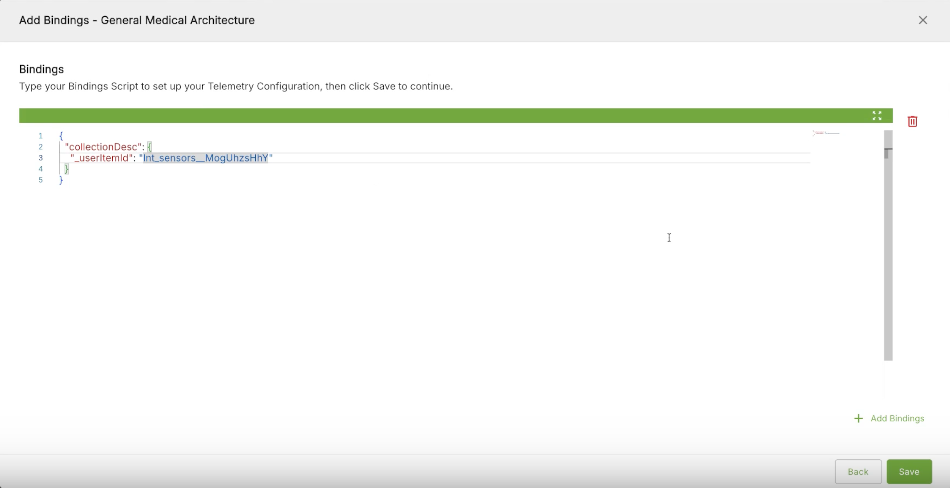
- The next page is the Add Bindings page. This is where you add any bindings scripts (A bindings script links namedTelemetryCollections, telemetry items, and IoT data.) On this page, you type in your bindings script to set up the telemetry configuration. Use the + Add Bindings button to add multiple bindings. When done, click Save.
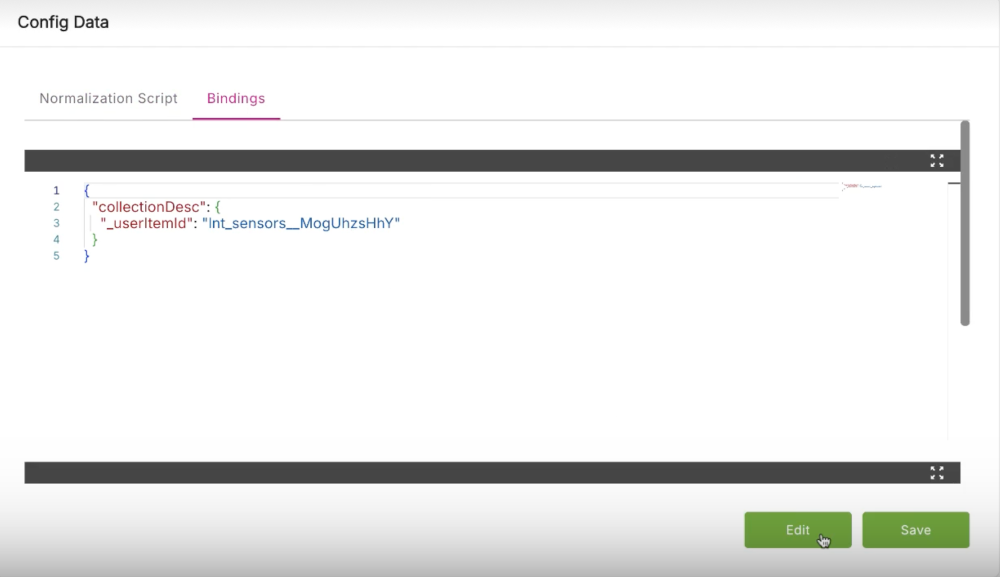
You will then be taken back to the main Telemetry Config tab page and you will see a notification message "Telemetry has been successfully created". Any normalization or bindings script will be listed in the Config Data pane.
If you wish to edit this new telemetry item, you can choose to edit either the normalization script or any of its associated bindings. On either the Normalization Script tab, or on the Bindings tab, click the Edit button to edit the appropriate script. Click Save when done.