Getting Started
Installing the Extension#
- Download the extension installer ‘.vsix’ files
- Start your IDE and open the Extensions panel
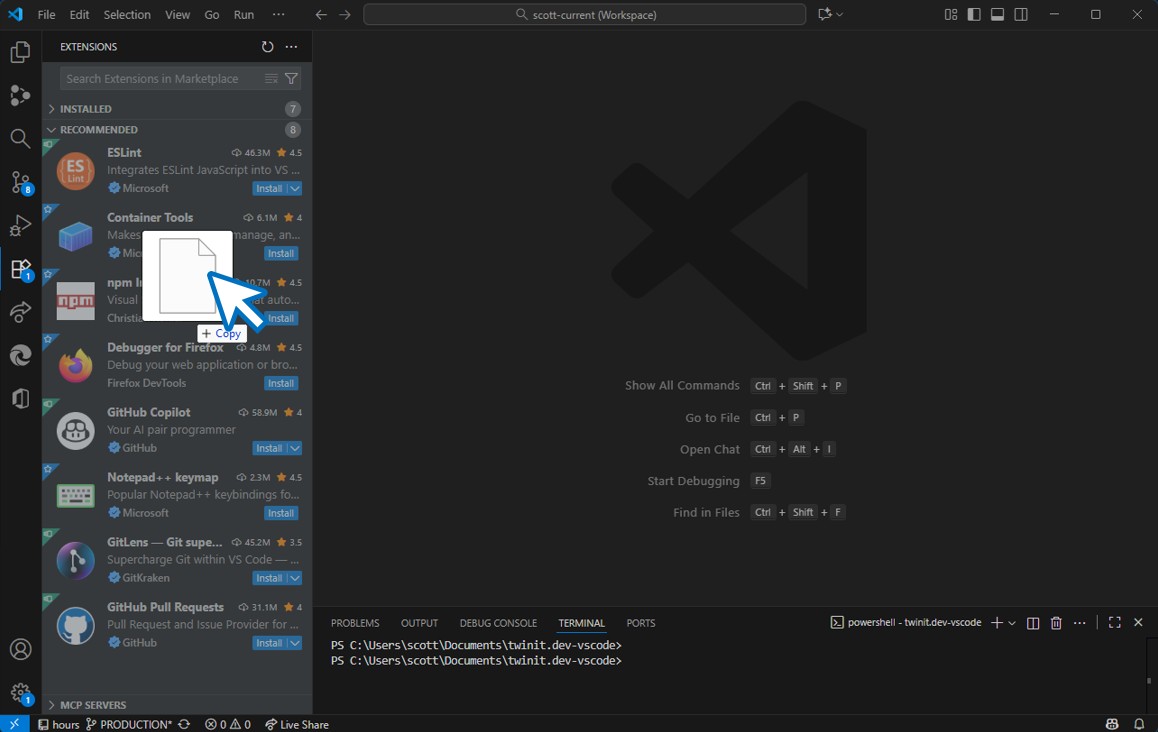
- Drag and drop your downloaded .vsix file ono the xnsions panel
After installation is complete, you will see a panel in the activity bar.
Setting Up Your Environments#
The first time you use the IDE Extension you will need to provide the configuration used to connect to .
Once the IDE Extension is installed and activated, you will see a panel in your IDE. Opening the panel, you will see a message that you are not signed in to an Environment.
note
All urls needed in the steps below are the url to the api for your given environment. For instance, if you are using , you need to use the api end point .
Setting Up Your First Environment#
Get Your Access Keys#
- For the environment in which you wish work go to the following link: https://< API HOST>/passportsvc/api/accounts
- Log in to the platform using your user credentials
- Click on “User Access Keys”
- Click “Generate New Access Keys”
- Record your new Access Key and Secret Key
Add the Environment to the IDE Extension#
- In your IDE's File menu select Preferences > Settings
- In the Settings page expand Extensions and select
- The Application ID setting will reflect your currently selected application
- Under the Environments setting click "Edit in settings.json"
- Add your environment to the .config.environments array by adding:
{ "env": "", //the https: url to the environment api "name": "", //a name that identifies the environment and user credentials "access": "", //your user's access key "secret": "" //your user's access key }You have now configured your first environment. If you have projects created in the environment you will see those in the extension tree.