Lesson 1 - A Basic Web Client
Get Your Twinit Academy Application ID#
Before you begin, retrieve your Twinit Academy application id.
You can copy your application id to the clipboard using the Twinit IDE Extension by right clicking on the Application Name and selecting 'Copy APPID'.
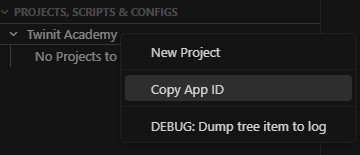
Be sure to record the app id where you can reference it in a later step.
Run create-twinit-app#
Before continuing, be sure that you have node 18 installed and it is set as your current node version. You may experience errors using early node versions.
In order to quickly start a new Twinit React application, Invicara has provided an npx command that will allow you to provide information about your application, and scaffold a new Twinit React application.
- Create a new directory or folder on your system in which you want to create your client
- Open a command line or terminal in that directory or folder
- Run
npx create-twinit-app@latest - create-twinit-app will ask you some questions to help set up your React client application. Answer them as follows:
Prompts:
Twinit app name: My Twinit Training ClientTwinit app description: My Twinit Training ClientVersion: {{Accept the default value 1.0.0}}Author: {{Input your name}}Application ID (required - default = dev-training): {{enter your Twinit Academy App ID}}Config _userType: (required - default = dev-training): {{Accept the default value which is 'dev-train'}}Twinit API URL: {{Accept the default which is the Twinit Sandbox API URL}}- When create-twinit-app has finished, your folder will contain the start of a Twinit React client application.
Before you can run the client, however, we must first configure your access to Twinit's private node module repo.
Configure @dtplatform Access#
Before you can run the web client locally you will need to install various npm packages used to build the React client. A number of these npm packages are Twinit packages, that are accessible from the @dtplatform npm repository. In order to access the private npm repository you will need to configure your .npmrc file with your credentials.
- Have your Developer Access Keys handy, these are not your Sandbox user's access keys, but the one you can create through the Production Twinit instance at https://api.invicara.com/passportsvc/api/accounts
- Open your .npmrc file located in the root of the folder in which you ran
create-twinit-app - Follow the directions on twinit.dev to configure your .npmrc file
- Open a terminal or powershell in your client application folder and run
npm install
All node modules should install. If there is an Authorization issue, make sure you used the correct Access Keys and have correctly set the environment variables used in your .npmrc file.
If you continue to have issues installing @dtplatform node modules, be sure to review this knowledgebase article on the digitaltwin-factory community or log a support request.
Create and Configure Your Project#
In order for your client to have anything to display you will need to create or use three things:
- A project on Twinit
- A user group in the project for your user
- A user config assigned to the user group

Create a Project#
In the Twinit IDE extension:
- Sign in to the Twinit Sandbox and select your Twinit Academy Application
- Right click in the extension tree and click 'New Project'
- When prompted enter these values:
- For name enter 'First ipa-core Project'
- For description enter 'First ipa-core Project '
- For short name enter your first name followed by '-react'
- Click Save
Create a User Group#
Using the new project you just created:
- Right click on the project and select 'Create a Project Admin Group'
- When prompted, enter the name 'Developer Admins' and click Save
This creates a new user group in your project where the members of the user group (which include your user) will have full access to the project.
Create a User Config#
- Right click on the User Configs tree node in your project and select 'Create New Config'
- When prompted enter these values:
- For name enter 'Developer User Config'
- For short name enter 'dev_uc'
- For description enter 'Developer User Config'
- For user type enter 'dev-train'
- Leave the JSONconfig content as is
- Click Save
A new User Config will appear in the User Config node of the IDE extension.
Relate your User Config to Your User Group#
- Right click on the user config you just created and select 'Relate Config to User Group'
- When prompted select your 'Developer Admins' user group.
Completed Project Setup#
 You have now created a project in your application, created a user group for your project, and associated a user config with the user group.
Run the Web Client#
Run the Web Client Locally#
- Open a terminal or powershell in your client application folder and run
npm run watch
Open Your Browser#
- Point your browser to http://localhost:8084
- When asked to sign in, do so with your Sandbox user credentials
- When the Project Selection dialog appears, pick your project and click the Load Project button
Once signed in, you should see an empty application like below:
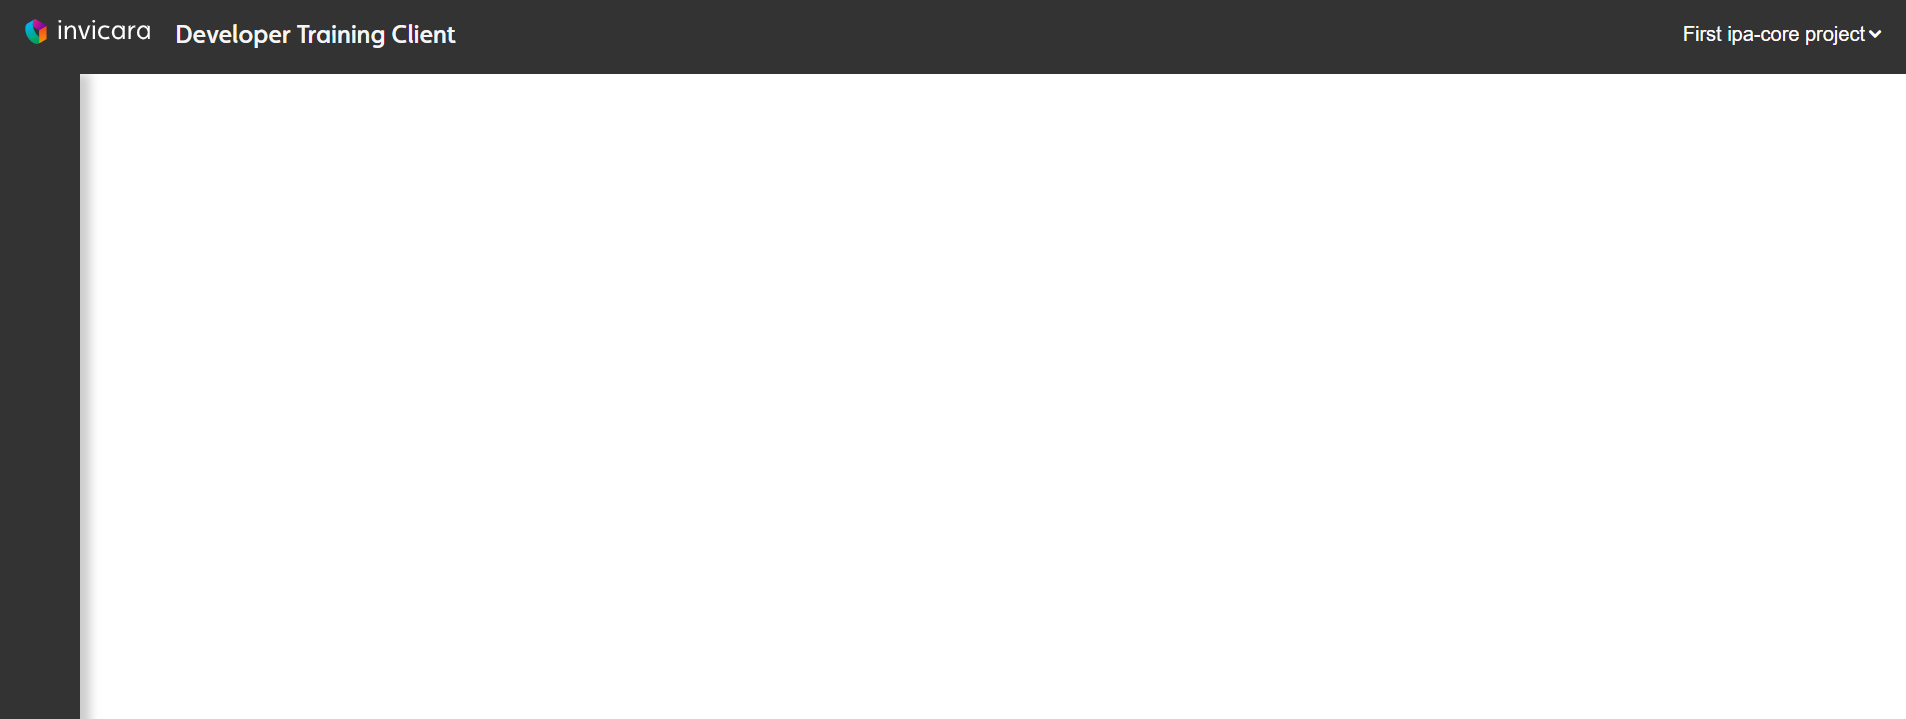
The application is empty because we have not yet added any configuration to your user config.
If you do not see any Projects when starting your web client, refer to this knowledgebase article on the digitaltwin-factory community. This is almost always due to the userType in ipaConfig and the userType on your User Config not matching.
Understanding the ipa-core Configuration Files#
When you start the application, you will notice that you were automatically redirected to sign in and then redirected back to your web client. This is because the ipa-core framework automatically handles the authentication flow for you and your users. There's no need to code that yourself.
You'll also notice that you were presented with a project selection dialog box. Once authenticated, the ipa-core framework also automatically handles your user's project selection. Had the user been on more than one user group they would also have been presented with an additional option to select the user group with which they wish to interact with your application. In this case there is only the one Developer Admins user group so that control is hidden in the project selection dialog and the user group is automatically selected for the user.
The framework also automatically handled loading the user config associated to the Developer Admins user group. In this case the user config is empty, so all you saw in the web client were a header bar, a blank navigation bar on the left, and an empty area in the middle of the application for page content.
In order for the authentication flow and the project selection to work we must understand a few configuration files which have been provided fully configured as part of the scaffolded application created by create-twinit-app.
config.js#
Open app/public/config.js. In this file you will see configurations for three things:
- The endpoint origins for the Twinit.io platform services
- The base root for your application
- The application id
const endPointConfig = { itemServiceOrigin: 'https://sandbox-api.invicara.com', passportServiceOrigin: 'https://sandbox-api.invicara.com', fileServiceOrigin: 'https://sandbox-api.invicara.com', datasourceServiceOrigin: 'https://sandbox-api.invicara.com', graphicsServiceOrigin: 'https://sandbox-api.invicara.com', baseRoot: 'http://localhost:8084', applicationId: '77b2cdca-c1a3-4d27-9d19-7b5358e3b337'}This config.js file is used by the ipa-core framework to configure the instance of the Twinit platform with which to interact, as well as the authentication flow, utilizing the passportServiceOrigin. To connect your application to a different Twinit platform instance you would simply adjust the api origin urls.
The baseRoot url is used both to serve the application up when you run it locally, but also as part of the authentication, as it is to the baseRoot to which a user will be sent after they have successfully signed in.
config.js is loaded into the app in app/public/index.html.
<!doctype html><head>  <meta http-equiv="Content-Type" content="text/html; charset=utf-8" />  <meta http-equiv="X-UA-Compatible" content="IE=edge">  <meta name="viewport" content="width=device-width, initial-scale=1, maximum-scale=1, user-scalable=no" />  <meta name="referrer" content="strict-origin-when-cross-origin">  <meta name="description" content="Invicara Training App" />  <link rel="shortcut icon" href="/app/logo_32px.png" type="image/x-icon">  <link rel="stylesheet" href="https://fonts.googleapis.com/css?family=Roboto:300,400,500,700&display=swap" />  <script src="/app/lib/web_viewer.js"></script>  <title>Dev Training App</title></head>
<body> <script type="application/javascript" src="/app/version.js"></script> <script type="application/javascript" src="/app/config.js"></script> <script type="application/javascript" src="/app/helpers.js"></script> <script src="https://kit.fontawesome.com/44736fd576.js" integrity="sha384-4dkU0KEW8xzTgUMyKaCySotWNNy65A/nhBuA9m3B2gagUaZ2XaSWe1OVwqdIx6N3" crossorigin="anonymous"></script> <link rel="stylesheet" href="https://use.typekit.net/hez0dvp.css" integrity="sha384-T1bGVf80VnCBLIdp+qsdd7w06PqIIxMwXoFMQ2AVs6agLHRLASmCg4MHF+cq1oPu"> <div id="app"></div></body>ipaConfig.js#
Open app/ipaCore/ipaConfig.js.
The ipaConfig.js file contains configuration specific to your application and is used by the ipa-core framework to extend the state management, components, and pages used in your application, as well as to identify your application to the Twinit.io platform.
const ipaConfig = {  appName: "Developer Training Client",  applicationId: "77b2cdca-c1a3-4dd7-9d19-7b5358e3b007",  configUserType: 'dev-train',  scriptPlugins: [],  redux: {    slices: []  },  components: {    dashboard: [],    entityData: [],    entityAction: []  }}
export default ipaConfigFor now it is important to note these configurations:
- appName: This is the name of the application that will appear in the header of the application. It can be blank.
- applicationId: Optionally, the application id can be specified in ipaConfig instead of in config.js. This is the unique ID for the registered application on the Twinit.io platform. In this case it is for an application named Developer Training Application.
- configUserType: Multiple different client applications can connect to your Application. By specifying the configUserType, you state which user configs in the item service are compatible with your web client.
The other configurations will be explored in future lessons.
ipaConfig.js is imported in app/client/index.jsx and provided as a property to the ipa-core main layout component.
import { render } from 'react-dom';import React from 'react';import _ from 'lodash'import './styles/app.scss'import {IafProj, IafSession} from '@invicara/platform-api';import { Provider } from 'react-keep-alive';import {IpaMainLayout} from '@invicara/ipa-core/modules/IpaLayouts';import ipaConfig from '../ipaCore/ipaConfig'
const onConfigLoad = async (store, userConfig, AppContext) => {  console.log('onConfigLoad ->', AppContext, store, userConfig)
  IafSession.setConfig(endPointConfig)}
render(<Provider>      <IpaMainLayout          ipaConfig={ipaConfig}          onConfigLoad={onConfigLoad}        />    </Provider>,    document.getElementById('app'));
if (module.hot) {  module.hot.accept();}