Lesson 4 - Open-Source Components
A great way to learn how to use ipa-core and the various components available for creating a Twinit app is to go to the open-source code that's available through the digitaltwin-factory community.
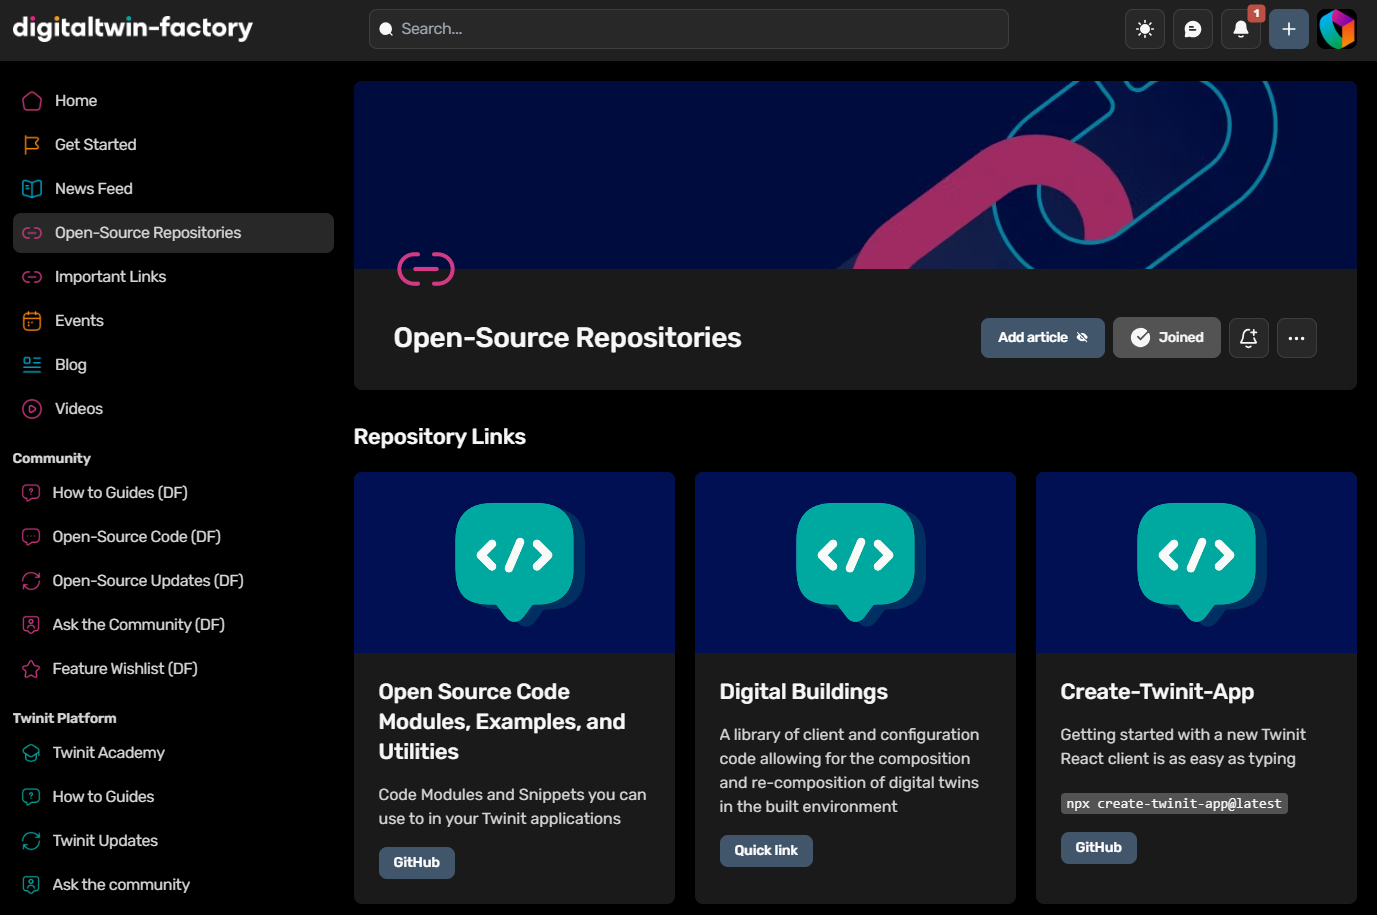
The digitaltwin-factory contains all sorts of code from 'drag, drop, and configure' ipa-core pageComponents, to utilities and example implementations for things like authentication with Twinit and 3D/2D model viewer.
When starting a new project, the digitaltwin-factory can also provide code that can accelerate your client development!
In this chapter, we will see how to utilize an open-source script to create a BIM import orchestrator and how to use one of the open-source 'drag, drop, and configure' pageComponents in your own app.
Add a Model Import Orchestrator#
Clone the Open-Source Repo Locally#
To start, clone the digitaltwin-factory github repo locally. If you are unfamiliar with cloning repositories, follow the directions here to learn how.
It's helpful to also add the local clone folder to your IDE's workspace to easily be able to access the open-source code.
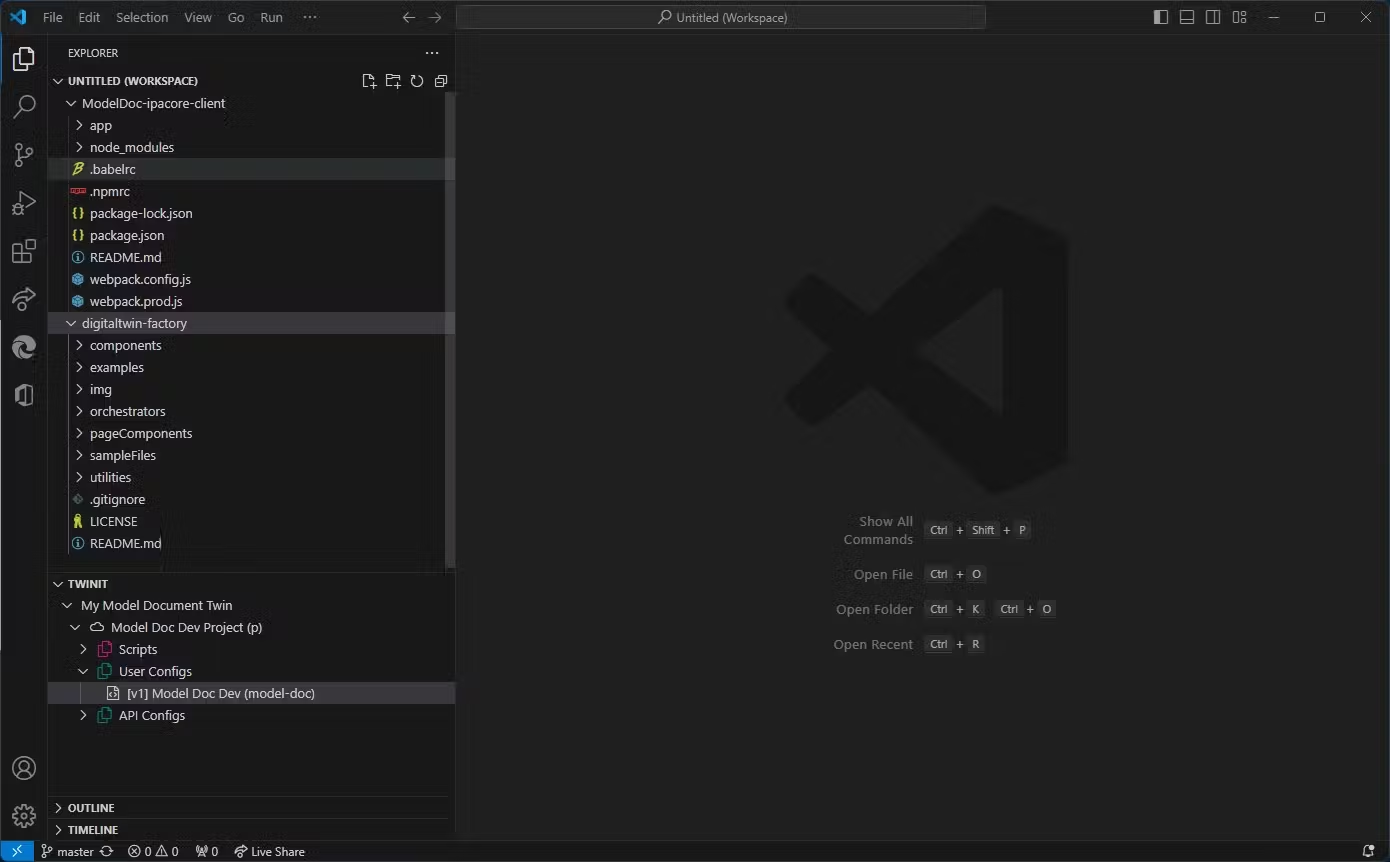
- The Twinit IDE Extension and digitaltwin-factory repo*
Add the Model Import Orchestrator Setup Script#
These steps are nearly identical to the steps you followed in the Self-Led Developer Training Intermediate course.
- Create a new script in your project and give it a name and other info to indicate that the script sets up a model import orchestrator
- Copy the contents of the
digitaltwin-factory/orchestrators/bimpkModelImport/bimpk Model Import Orchestrator Setup.mjsfile into your new script and save the file - Right click on your script and select Run Script
- When prompted to select a file pick
digitaltwin-factory/orchestrators/bimpkModelImport/import_helper.js - When the script completes it will return the NamedUserItem for the import_helper script and the datasources orchestrator for the import orchestrator
Congrats! You just used an open-source script to create a model import orchestrator in your project!
Now let's add an open-source pageComponent to your ipa-core web client so you can use the new orchestrator.
Add the SimpleModelImportView pageComponent#
Since we have an orchestrator to import models let's grab an open-source pageComponent so we can easily interact with the orchestrator and import models.
Copy the SimpleModelImportView into your ipa-core Client#
- Read about the SimpleModelImportView in the pageComponent Readme to familiarize yourself with what the pageComponent does and the steps we will take to enable it in your ipa-core client
- Copy the
digitaltwin-factory/pageComponents/modelImportfolder and paste it into your client'sapp/ipaCore/pageComponentsfolder
This has copied the source code for the page into your client. It will not display in your client however until we configure it in your User Config.
Add a Handler, Homepage, and Grouped Pages Config#
- Open your User Config in the Twinit IDE Extension
- Add the following handler to your list of handlers
"modelImport": { "title": "Model Import", "icon": "fas fa-file-import fa-2x", "shortName": "modelimp", "description": "Model Import", "pageComponent": "modelImport/SimpleModelImportView", "path": "/modelimp", "config": { "bimpkUserType": "bimpk_importer" }},Notice the bimpkUserType config. This entry matches the _userType of the model import orchestrator you created in the previous section, but if you ever change the orchestrator's _userType you will need to also update this configuration as well. This is how the UI knows how to find the model import orchestrator in the Datasources Service on Twinit.
- Add the new handler as your homepage
Note: Once you have a handler defined you must also configure a homepage, otherwise you will experience issues loading your client in the browser
"homepage": { "handler": "modelImport"},- Add the following groupedPages config to make the page display in your client
"groupedPages": { "model": { "icon": "fas fa-building fa-2x", "position": 1, "pages": [ { "page": "Model Import", "handler": "modelImport" } ] }},- Save and commit your changes
View the pageComponent in Your Client#
If your client is not already running, open a command console in your client folder and run:
npm run watchIf your client is already running, you will need to reload your user config in the web client by clicking Switch Project in the menu in the top right hand corner (or logging out and back in) and then selecting your project again. If you do not, the page will not function correctly.
Once your client is running and you have selected your project you should see the Model Import page.
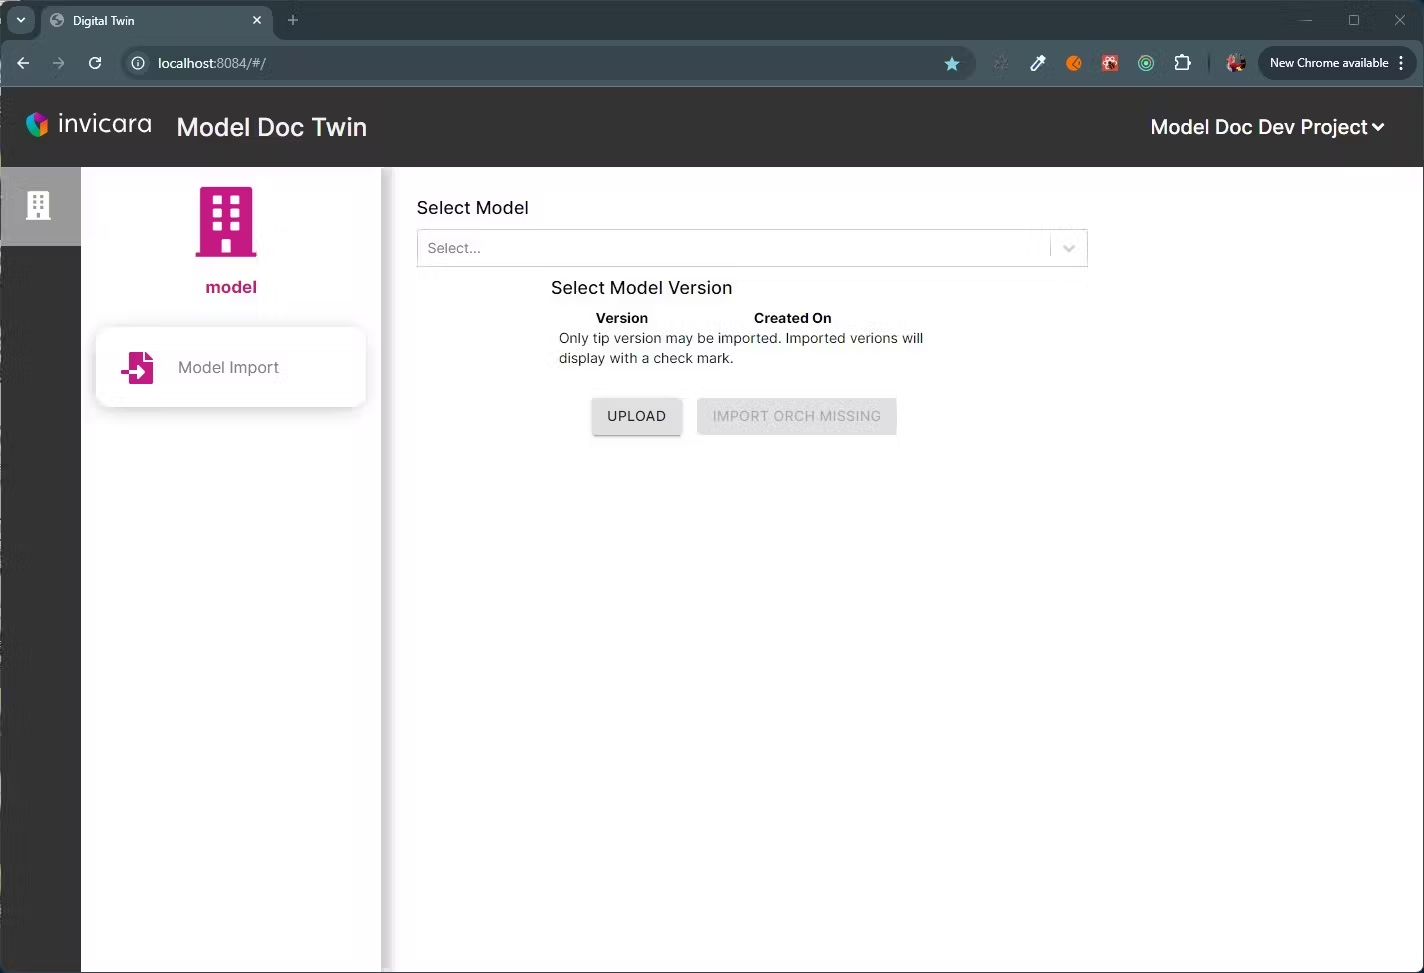
Use SimpleModelImportView to Import a Model#
The SimpleModelImportView pageComponent enables uploading a model bimpk, and using the model import orchestrator to import the model data into your Twinit project.
If you wish to use your own model, you can download one of Twinit's plugins for CAD authoring applications. Simply install the plugin to your CAD modeling application, sign in to Twinit via the plugin, and follow the directions to upload a bimpk of your model to your project.
For this example you can also use the sample General Medical - Architecture.bimpk provided in the digitaltwin-factory.
- Click the UPLOAD button
- Select
digitaltwin-factory/sampleFiles/General Medical - Architecture.bimpk- The file will begin uploading to the File Service root container in your project
- Once the file is uploaded select it in the Select Model dropdown
Note: You may need to refresh the page to enable the IMPORT button before following this step
- A list of versions of the bimpk will load below it, check the box for version 1
- Click the IMPORT button
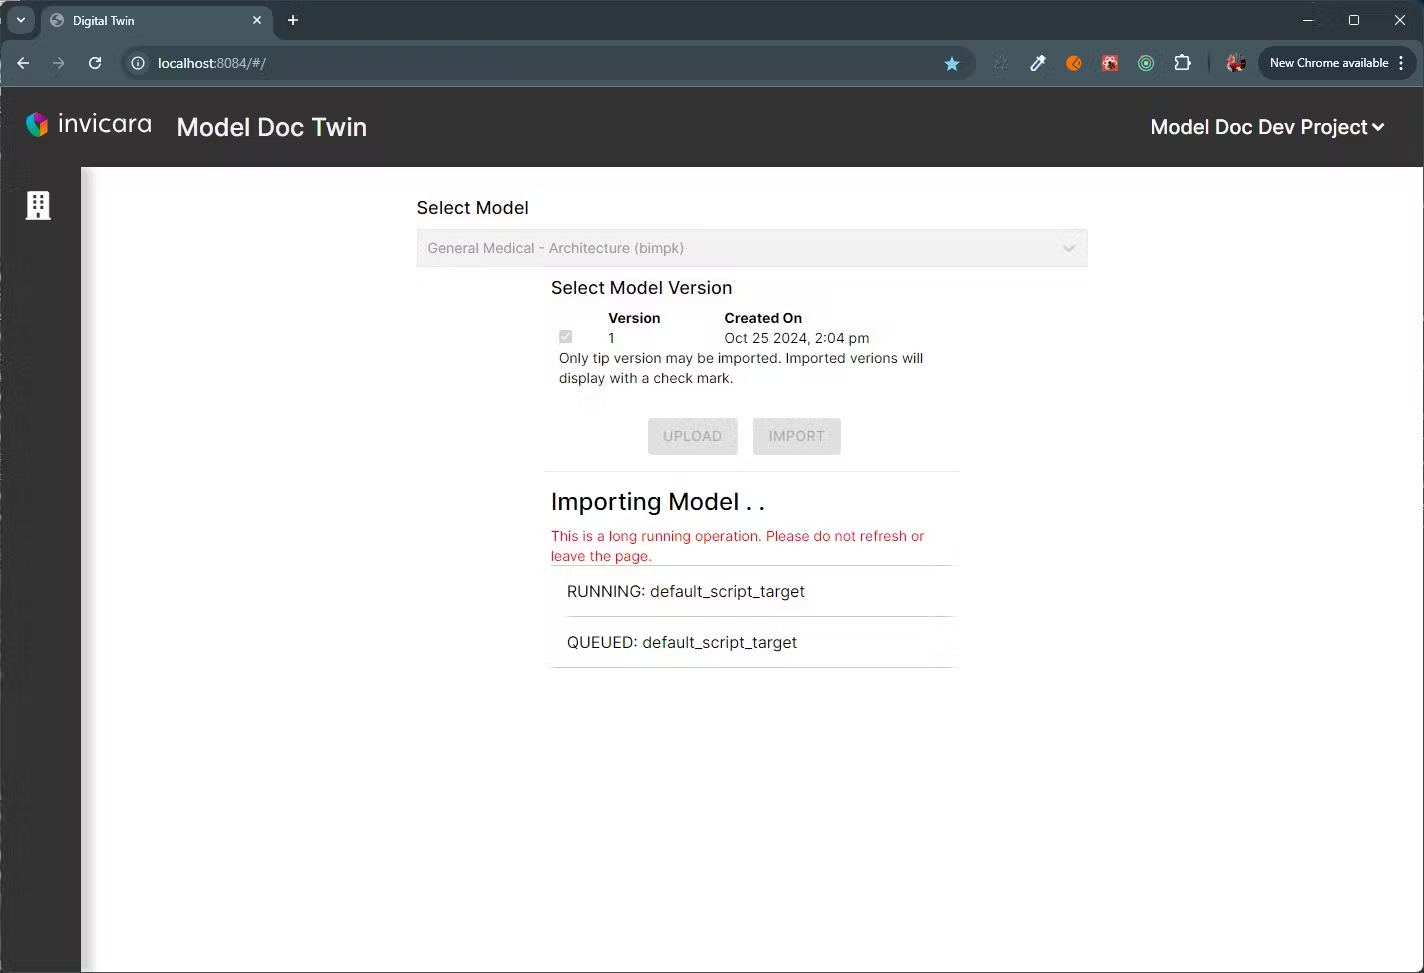
- When both steps report as completed, you have successfully imported a CAD 3D/2D model into your Twinit project